
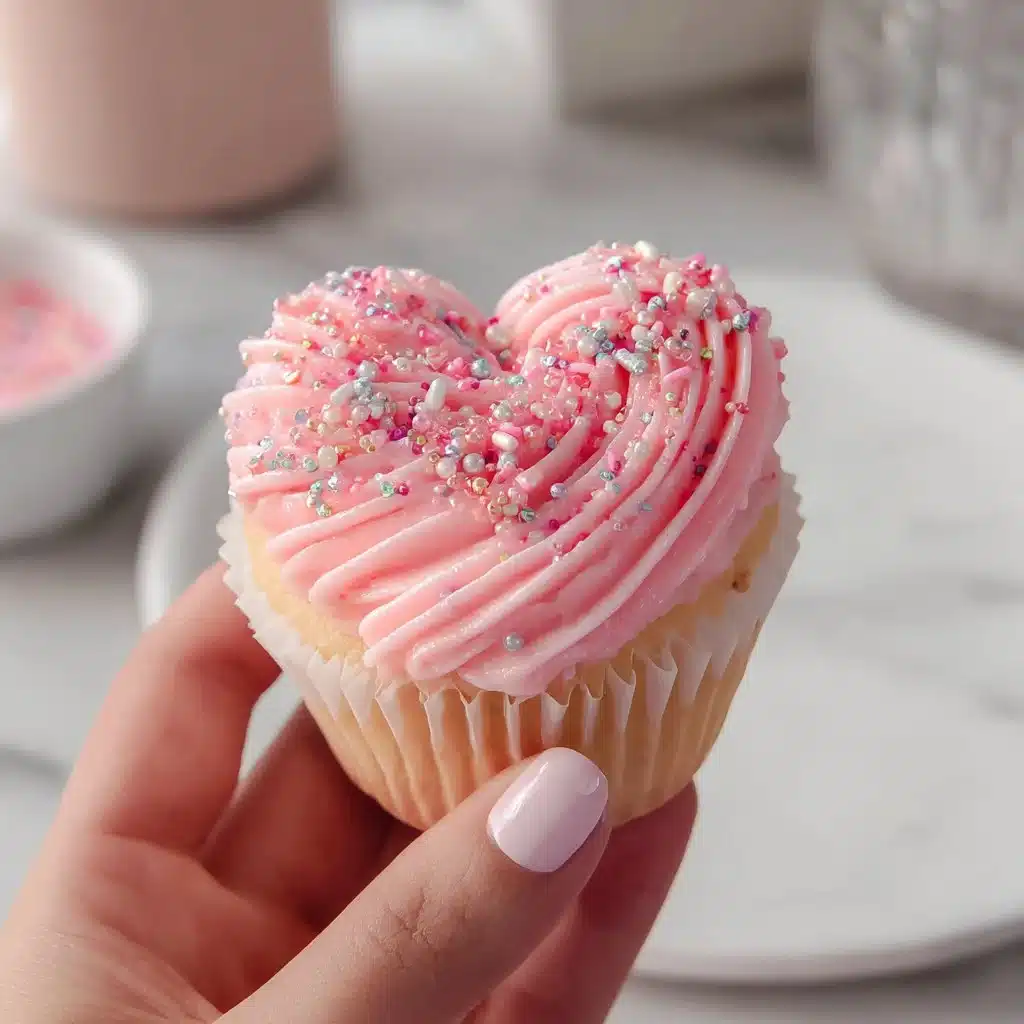
Hey there, my baking friends! If you’re looking for a delightful treat to spoil your loved ones this Valentine’s Day, you’ve come to the right place. Nothing says “I love you” quite like a batch of homemade cupcakes, especially when they are bursting with color and sweetness. Today, we are diving into an incredibly easy yet impressive recipe for Valentine’s Day cupcakes that will surely melt hearts and bring smiles! So, put on your apron, gather your ingredients, and let’s create some sweet magic together.
Why This Recipe Is Worth Making
What makes these Valentine’s Day cupcakes so special? Let’s start with their vibrant colors, rich reds and soft pinks that mirror the spirit of the holiday. Each cupcake is not just a treat for the taste buds but also a feast for the eyes. The light, fluffy texture paired with creamy frosting makes these cupcakes irresistible.
But the beauty of this recipe goes beyond aesthetics. It’s simple enough for novice bakers, yet versatile enough to allow for creative touches. You can dive into the joy of baking with minimal fuss, and the result is pure happiness, both in flavor and in presentation. Plus, when you share these cupcakes with friends and family, you’re sharing a little piece of your heart, and that’s what baking is all about.
So, if you’re ready to whip up something special, keep reading!
Step-by-Step: Making Valentine’s Day Cupcakes
Are you excited to start baking? Let’s go through the process step-by-step!
Ingredients
Before we begin, here’s what you’ll need to gather:
- 1 1/2 cups all-purpose flour
- 1 cup granulated sugar
- 1/2 cup unsalted butter, softened
- 2 large eggs
- 1 teaspoon vanilla extract
- 1/2 cup milk
- 1 1/2 teaspoons baking powder
- 1/4 teaspoon salt
- Red and pink food coloring
- Vanilla or cream cheese frosting
- Sprinkles for decoration
Directions
- Preheat the Oven: First things first, preheat your oven to 350°F (175°C) and line a cupcake pan with cute paper liners. Trust me; this will make serving so much easier!
- Cream the Butter and Sugar: In a mixing bowl, cream together your softened butter and granulated sugar until it’s light and fluffy. This is where the magic begins!
- Add Eggs and Vanilla: Add the eggs, one at a time, making sure to mix well after each addition. Stir in the vanilla extract for that delightful aroma.
- Combine Dry Ingredients: In a separate bowl, mix together your flour, baking powder, and salt. Gradually add this dry mixture to the creamed butter while alternating with the milk. Start and end with the flour mixture to keep everything nicely blended.
- Divide the Batter: Now for the fun part! Divide the batter into two bowls. In one bowl, mix in red food coloring until you achieve the desired shade, and in the second, add pink food coloring.
- Fill the Cupcake Liners: Spoon the two colors of batter into your cupcake liners, alternating between the red and pink. This will create a beautiful marbled effect when baked.
- Bake: Pop the cupcake pan into your preheated oven and bake for 18-20 minutes, or until a toothpick comes out clean. Your kitchen will smell heavenly!
- Cool and Frost: Once baked, remove the cupcakes from the oven and let them cool. Once cool, frost with your choice of vanilla or cream cheese frosting.
- Add Sprinkles: Finally, sprinkle those cupcakes with colorful sprinkles to add a joyful touch!
Best Ways to Serve Valentine’s Day Cupcakes
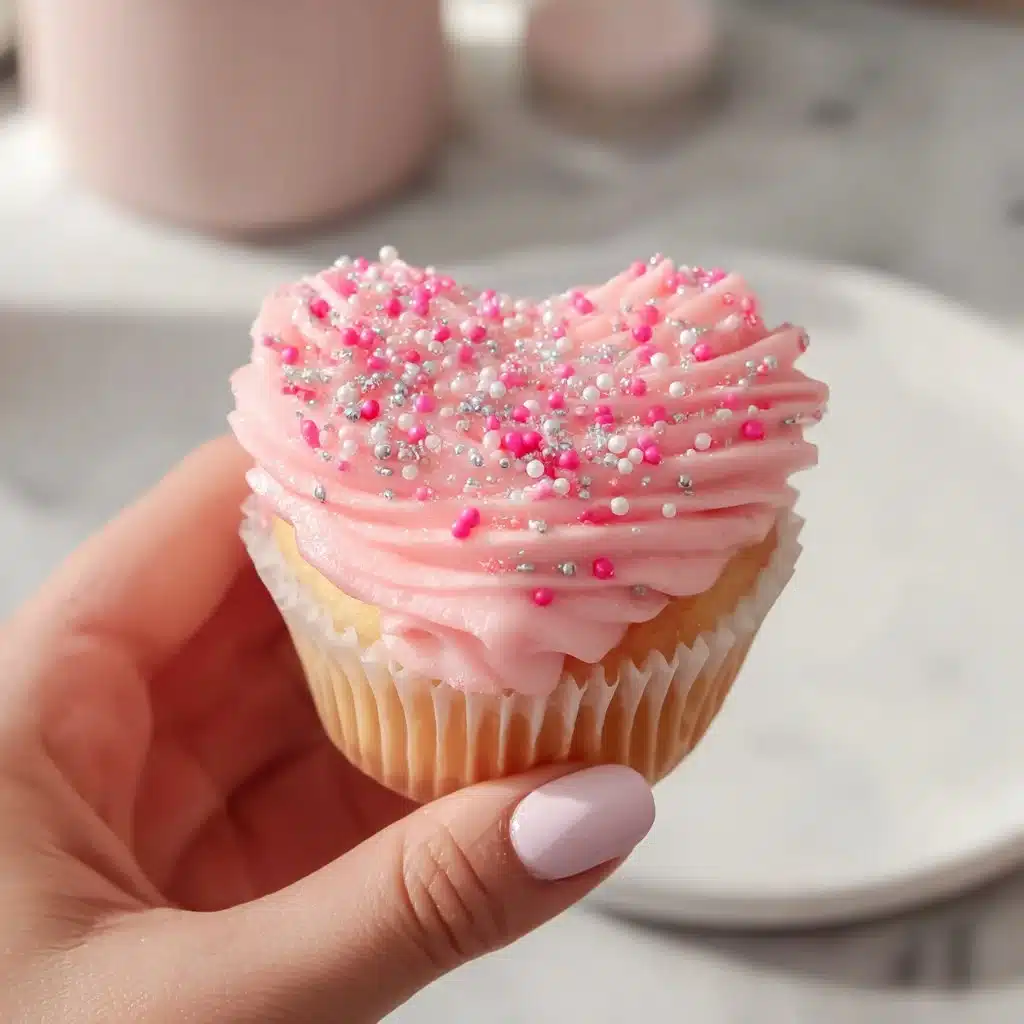
When it comes to serving your beautiful Valentine’s Day cupcakes, presentation is key. Here are some serving suggestions to make them even more special:
- Plate Them Creatively: Use a tiered cake stand to display your cupcakes. It adds a lovely touch and invites people to come closer and indulge.
- Personal Touches: Consider placing heart-shaped candies or chocolates on the plate for an extra romantic flair.
- Gift Them: Wrap a few cupcakes in cellophane and tie them with a pretty ribbon to gift to friends, family, or even coworkers. Everyone loves a sweet surprise!
Keeping Your Cupcakes Fresh
So, you’ve made a batch of these luscious cupcakes, but how do you keep them fresh? Here are my best storage tips:
- Airtight Container: Place your cooled cupcakes in an airtight container to keep them moist. This is crucial for maintaining their deliciousness.
- Room Temperature: If you consume them within a couple of days, they can stay at room temperature. Just avoid excess humidity!
- Refrigeration: For longer storage, you can refrigerate them. Just remember that cold air can dry them out a bit, so it’s best to consume them within a week.
Top Tips for Cupcake Success
Want to ensure your Valentine’s Day cupcakes are a total hit? Here are my pro tips:
- Don’t Overmix: When combining your wet and dry ingredients, mix just until everything is incorporated. Overmixing can lead to dense cupcakes.
- Use Room Temperature Ingredients: Allow your butter, eggs, and milk to come to room temperature before baking. This helps create a light and airy texture.
- Taste as You Go: Always taste your batter (if safe to do so) before you put it in the oven! Adjusting sweetness or flavors can make a big difference.
Creative Twists on Valentine’s Day Cupcakes
Feeling a bit adventurous? Here are a few variations you can try:
- Chocolate Lovers: Substitute 1/2 cup of flour for cocoa powder for a rich chocolate cupcake base.
- Different Frostings: Experiment with other frosting flavors, like strawberry or raspberry, to complement the cupcakes.
- Add a Surprise: Insert a piece of chocolate or fruit in the center of the cupcakes before baking for a delightful surprise!
FAQs
1. Can I make the batter ahead of time?
Yes! You can prepare the batter a day in advance and store it in the fridge until you’re ready to bake. Just give it a quick stir before filling the liners.
2. Can I freeze these cupcakes?
Absolutely! Freeze frosted or unfrosted cupcakes in an airtight container. Thaw them at room temperature when you’re ready to enjoy them.
3. How can I make these cupcakes gluten-free?
Simply swap out the all-purpose flour for your favorite gluten-free flour blend. Just make sure it’s a blend designed for baking for the best results.
And there you have it: delightful, colorful Valentine’s Day cupcakes that are perfect for sharing love and sweetness. Whether you’re whipping these up for a special someone or treating yourself (because you absolutely deserve it), I hope you find joy in the process and a smile on your face when you take that first bite. Happy baking!
PrintDelightful Valentine’s Day Cupcakes
Easy and colorful cupcakes that are perfect for Valentine’s Day, featuring a fluffy texture and creamy frosting.
- Prep Time: 15 minutes
- Cook Time: 20 minutes
- Total Time: 35 minutes
- Yield: 12 servings
- Category: Dessert
- Method: Baking
- Cuisine: American
- Diet: Vegetarian
Ingredients
- 1 1/2 cups all-purpose flour
- 1 cup granulated sugar
- 1/2 cup unsalted butter, softened
- 2 large eggs
- 1 teaspoon vanilla extract
- 1/2 cup milk
- 1 1/2 teaspoons baking powder
- 1/4 teaspoon salt
- Red and pink food coloring
- Vanilla or cream cheese frosting
- Sprinkles for decoration
Instructions
- Preheat the oven to 350°F (175°C) and line a cupcake pan with paper liners.
- Cream together the softened butter and granulated sugar until light and fluffy.
- Add the eggs one at a time, mixing well after each addition, then stir in the vanilla extract.
- In a separate bowl, mix flour, baking powder, and salt; gradually add this mixture to the creamed butter while alternating with the milk.
- Divide the batter into two bowls; mix red food coloring into one and pink food coloring into the other.
- Spoon the two colored batters into the cupcake liners, alternating between red and pink.
- Bake for 18-20 minutes or until a toothpick comes out clean.
- Cool completely before frosting with your choice of frosting.
- Sprinkle with colorful sprinkles before serving.
Notes
For a creative twist, try adding cocoa powder for a chocolate version or experimenting with different frostings.